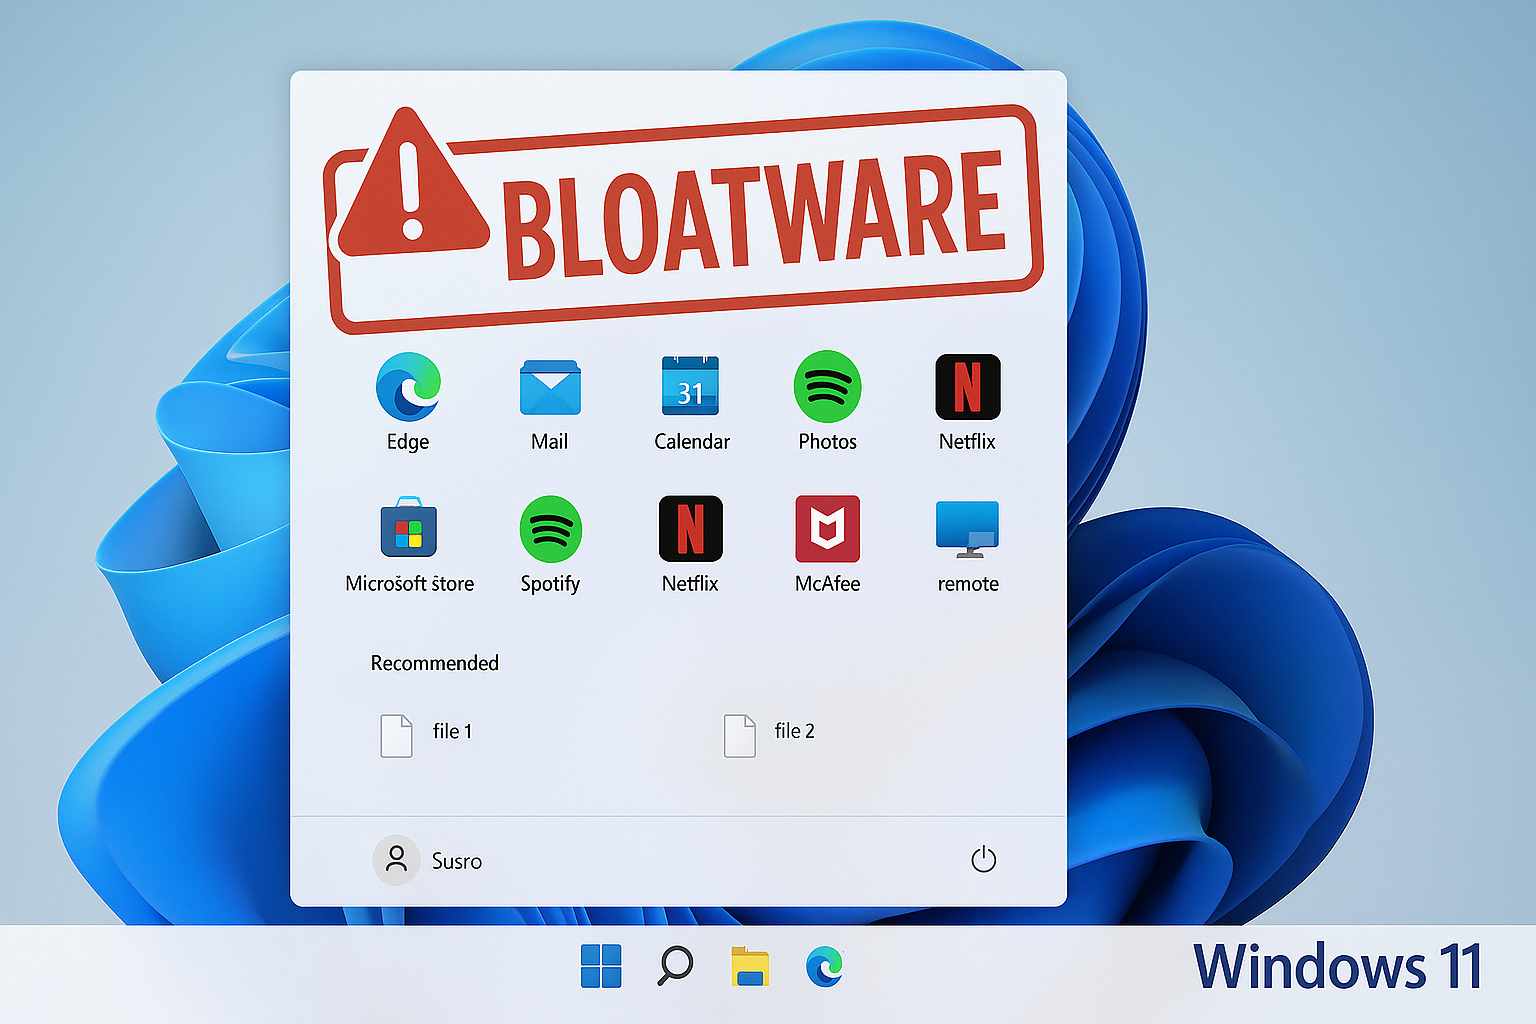
“Have you ever felt your laptop or PC suddenly become sluggish after a few months of use? One possible culprit is bloatware.” Bloatware is often underestimated, yet it can drain your computer’s resources, invade your privacy, and swallow up storage. This article will help you understand what bloatware is, why you need to remove it, and of course, how to easily remove bloatware on Windows 10/11.Let’s dive into the steps!
What Is Bloatware?
Definition of Bloatware
The term “bloatware” often pops up among PC and laptop users. Simply put, bloatware is software that comes pre-installed on the operating system or is added by the hardware manufacturer. Usually, bloatware isn’t very useful to most users, yet it consumes storage space and system resources.
Characteristics of Bloatware
- Installs Automatically when you buy the device or after an OS update.
- Rarely or Never Used, so users often close it immediately.
- Consumes a Lot of Resources, such as CPU, RAM, and storage.
- Sometimes Includes Ads or Unwanted Paid Features. yang tidak diinginkan.
Why Should You Remove Bloatware?
It Slows Down System Performance
Imagine you want to multitask: open several browser tabs, edit a document, and stream music. Suddenly, everything lags because the CPU and RAM are being eaten up by programs you don’t actually need. Bloatware is often the silent culprit behind that slowdown.
It Frees Up Storage Space
Every application, no matter how small, needs space on your hard drive or SSD. Bloatware can take up tens to hundreds of megabytes, even gigabytes, without you noticing. By removing it, you can reclaim that space for important files or your favorite games.
It Helps Protect Privacy and Security
Some bloatware might collect user data behind the scenes. Although not all bloatware is malicious, there’s a chance it contains untrustworthy components. Removing bloatware reduces the risk of data leaks and potential malware.
Risks and Things to Watch Out For
Risk of Deleting Important Applications
Sometimes we don’t realize that an installed application perceived as bloatware is actually system-critical (like a driver or hardware utility). Deleting it may cause certain hardware—such as your webcam, audio, or touchpad—to stop working properly.
Backup Data Before Deleting
Before you delete anything, always create a backup.You can use the System Restore feature or note down which apps you remove. If something goes wrong, you can restore the system to its previous state.
Preparation Before Removing Bloatware
Create a System Restore Point
A System Restore Point is a built-in Windows feature that saves your system’s condition at a specific moment. If something goes wrong later, you can revert back to this point.
How to create it:
- Press Windows + S, type “Create a restore point,” and open it.
- Di tab In the System Protection tab, select drive C: (or your system drive), then click Create.
- Name it something like “Before Removing Bloatware” and click Create.
- Wait until the process finishes.
Make a List of Default Windows Apps
Some built-in Windows apps, such as Microsoft Edge, Calculator, or Windows Defender, shouldn’t be removed. Make a list of apps you want to keep. An easy way: open Start > Settings > Apps > Apps & features, then note down any app you don’t want to touch.
How to Manually Remove Bloatware
1. Using Settings > Apps
Steps to Remove via Settings
- Open Settings by pressing Windows + I.
- Select Apps from the left menu.
- Select Apps & features to see a list of all installed apps.
- Find the bloatware app (for example Candy Crush, Xbox, Groove Music).
- Click on that app, select Uninstall, and follow the prompts to finish.
Using Control Panel Menggunakan Control Panel
Steps to Remove via Control Panel
- Open Control Panel by pressing Windows + R, typing
control, and pressing Enter. - Select Programs and Features, then Uninstall a program.
- Find the bloatware app in the program list.
- Right-click the app, choose Uninstall, and follow the prompts.
The manual method is suitable for bloatware that appears under Apps & features or Control PanelHowever, some built-in apps don’t appear there—this is where PowerShell comes in handy.
Removing Bloatware with PowerShell
1. Open Windows PowerShell as Administrator
- Press Windows + X, choose Windows PowerShell (Admin).
- If the User Account Control (UAC)window appears, click Yes.
2. Basic PowerShell Commands for Remove-AppxPackage
The Get-AppxPackage and Remove-AppxPackage commands are essential for removing built-in Windows apps (Appx packages).
Get-AppxPackage -AllUsersshows all built-in apps for every user.Remove-AppxPackageremoves the app for the current user.Remove-AppxProvisionedPackage -Onlinedeletes the provisioning package so it doesn’t reinstall after a Windows update.
3. Example Commands to Remove Specific Apps
- Find the app you want to remove:
Get-AppxPackage -AllUsers | Select Name, PackageFullNameThis lists all built-in apps along with their PackageFullName. For instance, to remove Microsoft.XboxApp, look for “Xbox” in that list.
- Remove the app for the current user:
Get-AppxPackage *xbox* | Remove-AppxPackageThe wildcard *xbox* matches any app name containing “xbox.”
- Remove the Provisioned Package (So It Won’t Reinstall):
Get-AppxProvisionedPackage -Online | Where-Object {$_.PackageName -like "*xbox*"} | Remove-AppxProvisionedPackage -OnlineThis ensures the Xbox app won’t be reinstalled when the next Windows update comes around.
- Another example: Removing Groove Music:
   Get-AppxPackage *zunemusic* | Remove-AppxPackage
   Get-AppxProvisionedPackage -Online | Where-Object {$_.PackageName -like "*zunemusic*"} | Remove-AppxProvisionedPackage -Online
Tips: Always double-check the (PackageFullName) before running Remove-AppxPackage. Accidentally deleting a system-critical package can break your Windows installation.
Related Article 9 Expense Tracking Apps on Mobile
Using Third-Party Software
If you find manual or PowerShell methods too complicated, there are several third-party tools that can help you remove bloatware with a single click. Here are three popular options:
1. CCleaner
- Fitur Uninstall Tool: CCleaner offers a simple uninstall feature.
- How to Use:
- Download and install CCleaner.
- Open CCleaner, go to Tools > Uninstall.
- A list of installed applications appears. Choose the bloatware app and click Uninstall.
Benefit: Lightweight and also includes a registry cleaner feature.
2. PC Decrapifier
- Focus on Removing Bloatware:Specifically designed to eliminate “junk” apps that often come preinstalled on new PCs.
- How to Use:
- Download and run PC Decrapifier (no installation needed).
- Select the apps you want to remove based on its recommendations or the displayed list.
- Click Nextand let PC Decrapifier handle the rest.
Note: Be sure to review the list of apps to be removed, as some might still be useful to you.
3. IObit Uninstaller
- Force Uninstall Feature: Can remove stubborn applications that resist deletion.
- How to Use:
- Install IObit Uninstaller.
- Open the program, find the bloatware under All Programs.
- Click Uninstall. If the app won’t budge, use Force Uninstall.
- IObit will also clean residual registry entries and leftover files.
Advantage: Fast, user-friendly, and has a leftover-cleanup feature after uninstalling.
Tips to Prevent Bloatware from Reinstalling
1. Pay Attention to Installation Options (Custom Install)
When installing any software (especially freeware), watch out for installation choices. Choose Custom or Advanced so you can uncheck boxes that offer additional applications (bloatware) you don’t want.
2. Read Reviews and Developer Reputation
Before downloading software, check the reputation of the website or developer. If you see many complaints about bundled bloatware, look for an alternative.
3. Regularly Check and Clean
- Check Periodically: Once a month, review installed apps under Settings > Apps.
- Use Cleaning Tools: Run CCleaner or IObit Uninstaller periodically to clean apps and leftover files.
Conclusion
Removing bloatware on Windows 10/11 is not just about freeing up storage space but also about boosting system performance and protecting your privacy. You can choose the manual route via Settings or Control Panel, or go deeper with PowerShell. If you want a quick and easy solution, third-party tools like CCleaner, PC Decrapifier, or IObit Uninstaller are ready to help. Just remember to always back up before you delete anything, and be sure that an app is truly bloatware before hitting that uninstall button!
FAQ
1. Is bloatware dangerous?
Not always dangerous, but bloatware can slow down your system, take up storage space, and in some cases collect personal data. So it’s better to remove it if you don’t need it.
2. Can bloatware come back after a Windows update?
Yes, sometimes Windows updates restore certain built-in apps. To prevent that, use the PowerShell Remove-AppxProvisionedPackage -Online so those apps aren’t re-provisioned.
3. Do I need to remove bloatware from all user accounts?
If you want a completely clean system, run PowerShell with the -AllUsers parameter to remove the app from every account. If you only care about the current user, run the command without -AllUsers.
4. Is it safe to use third-party software?
Most tools like CCleaner, PC Decrapifier, and IObit Uninstaller are safe as long as you download from their official websites. Always ensure you have the latest version to avoid malware risks.
5. Is it okay to remove Microsoft Store?
Technically you can remove it with PowerShell, but it’s not recommended because Microsoft Store is essential for downloading and updating other apps in Windows. Removing it could limit your access to the Windows Store.


